
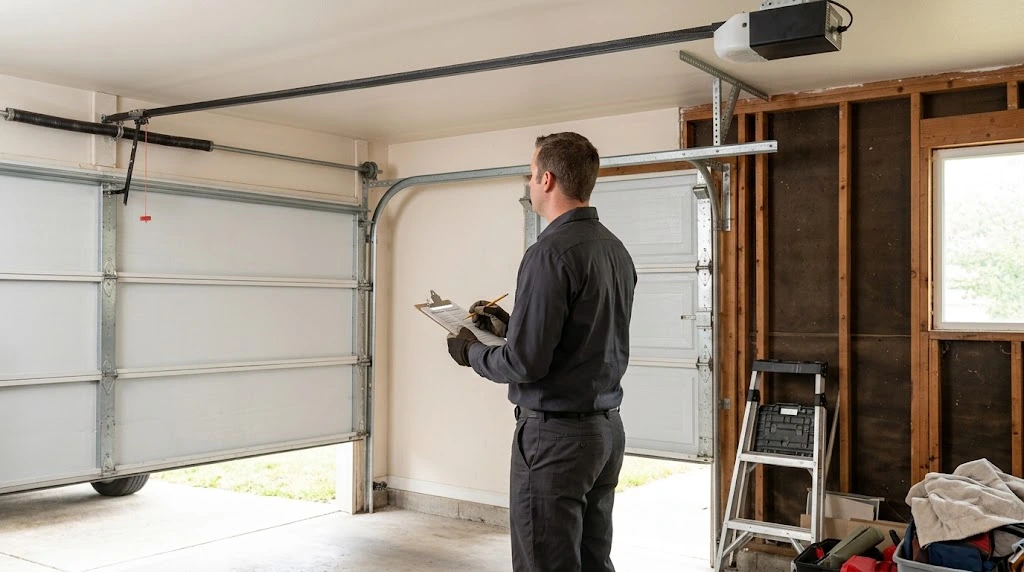
Quieting a garage door usually comes down to six specific fixes, ranging from a simple hardware check to a full inspection of the spring system that carries the door’s entire weight. Working through each step in order clears up most noise problems and unusual sounds, often preventing a full garage door repair down the line.
A few of these steps take only a few minutes, while others involve components under extreme tension that carry real safety risk if handled without proper caution. This guide walks through each fix, what it addresses, and which tools make the job easier for a homeowner working through the list.
Key Takeaways
- Tightening hardware and lubricating moving parts resolve most common causes of noise
- Worn rollers and misaligned springs often need replacement rather than a quick fix
- A garage door spring that will not stay balanced points there, not the opener
- Opener vibration often travels through mounting brackets into the surrounding structure
- Basic tools handle most fixes, though spring work calls for professional expertise
- Skipping regular garage door maintenance after a fix often brings the same warning sign back sooner
Steps to Quiet a Garage Door
These six fixes address different causes of garage door noise, and working through them in order covers nearly every common issue in the garage door system.
The table below breaks down what each fix addresses and what it takes to do it:
| Fix | What It Addresses | Tools Needed |
| Tighten loose hardware | Rattling and clanking | Socket set or wrench |
| Lubricate moving parts | Squeaking and screeching | Garage door lubricant |
| Inspect and replace rollers | Grinding | Replacement nylon rollers |
| Check the spring system | Loud bang or sudden failure | Professional inspection tools |
| Balance the door | Sliding, straining, uneven movement | Manual release and observation |
| Reduce opener vibration | Humming or buzzing | Isolation pads |
Tighten Loose Hardware
Loose hardware, mounting brackets, and hinge bolts cause some of the most common noise problems a garage door produces.
Tightening loose hardware usually involves:
- Checking tracks, hinge bolts, and metal parts for visible gaps
- Using a socket set to tighten every loose bolt and nut found
- Avoiding over-tightening wood screws, which can strip the wood underneath
- Testing the door through a full cycle after tightening to confirm quiet operation
- Rechecking the same hardware again after a few weeks of daily use
A garage door panel that rattles even after tightening every visible bolt may point to track alignment issues worth a closer look.
Lubricate Moving Parts
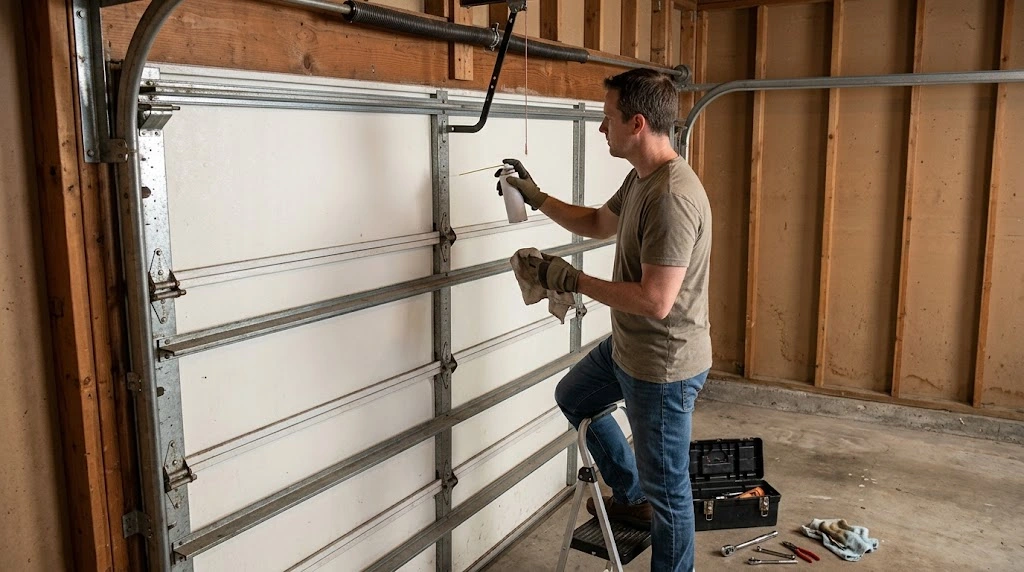
Dry moving parts and a lack of lubrication account for a large share of squeaking noise problems, and applying grease is usually the simplest fix.
Properly lubricating moving parts usually involves:
- Applying lubricant with regular lubrication to hinges and rollers
- Wiping away old grease and dirt with a damp cloth before applying anything new
- Avoiding standard household sprays, since they attract more dust over time
- Skipping lubricant on the nylon rollers themselves, since they do not need it
- Repeating this process every few months to prevent dryness from returning
To resolve squeaking with the exact right steps and timing, read our guide on How to Lubricate a Garage Door for Quieter Operation, which covers the full lubrication routine and tools needed in complete detail.
Inspect and Replace Rollers
Worn garage door rollers or metal rollers are behind most grinding noise, and a visual inspection usually reveals the problem quickly.
Inspecting and replacing rollers usually involves:
- Checking every roller and roller brackets for chips or cracks
- Replacing any roller showing damage before it causes further damage elsewhere
- Choosing nylon rollers with sealed bearings for a noticeably quieter result
- Testing the door’s movement immediately after any roller replacement
- Noting whether one section of track wears rollers faster than others
A full garage door installation sometimes makes more sense than repeated roller replacement once a track has aged significantly.
Check the Spring System
A garage door spring under extreme tension often produces the loudest and most alarming noise on this entire list, and this deserves special attention.
Checking the spring system usually involves:
- Listening for squeaks or snaps near the torsion springs above the door
- Looking closely at extension springs along the sides for visible wear
- Applying lithium grease to the torsion coil if it appears dry but intact
- Avoiding any hands-on repair if a spring shows warning signs, since spring replacement carries a genuine serious injury risk
- Scheduling spring replacement with a trained technician rather than attempting it alone
To understand exactly why spring problems create such distinct sounds, read our guide on Why Is My Garage Door So Loud? Common Causes Explained, which covers every major noise source in full detail.
Balance the Door
An unbalanced door often slides, strains, or moves unevenly through its cycle, and this usually traces back to the spring rather than the opener itself.
Checking the door’s balance usually involves:
- Disconnecting the opener using the manual emergency release cord
- Lifting the door by hand to the halfway point of its travel
- Watching whether the door stays in place or moves on its own
- Noting whether the door rises or falls after being let go
- Scheduling spring adjustment with a professional if the door will not hold
To hear exactly what an unbalanced door sounds like before this fix becomes necessary, read our guide on What Kind of Noise Is a Garage Door Making?, which breaks down each sound and its likely cause.
Reduce Opener Vibration
Humming or buzzing from the garage door opener often travels through mounting brackets and a worn chain drive into the surrounding garage frame.
Reducing opener vibration usually involves:
- Checking the mounting brackets and chain drive near the ceiling
- Tightening every mounting bolt until the bracket feels fully secure
- Adding rubber isolation pads between the brackets and the ceiling joists
- Testing the opener through a full cycle after the pads are installed
- Rechecking the bolts periodically, since vibration can loosen them again
A well-isolated opener runs with noticeably less vibration passing into the garage frame, the surrounding track walls, and the rest of the house overall.
When to Call a Professional Instead
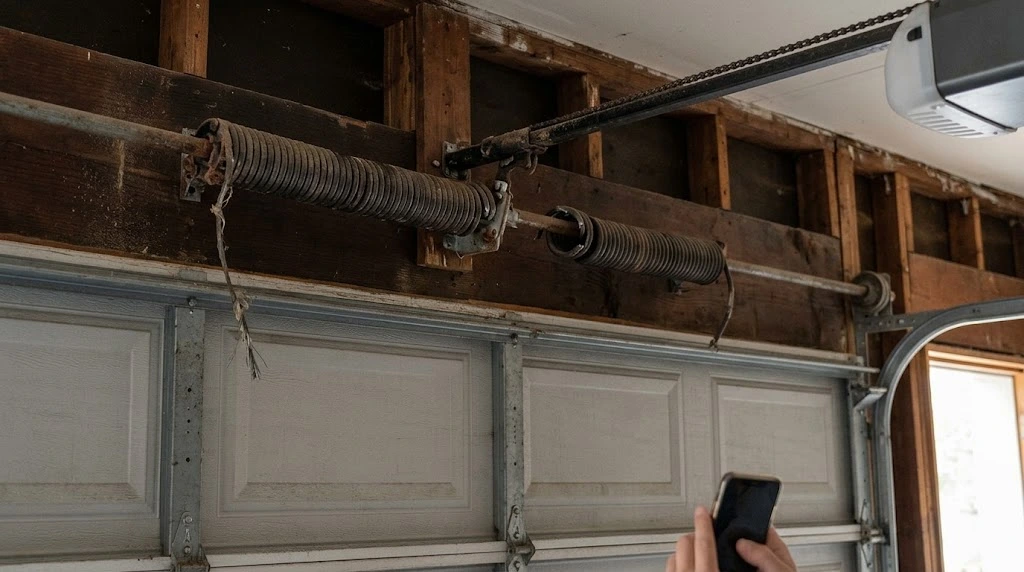
A few warning signs call for a trained technician rather than continued troubleshooting, since a handful of these fixes carry more risk than others.
These signs mean it is time to stop and call for help:
- A spring looks bent, snapped, or visibly under load
- The door will not hold its balance after a spring adjustment attempt
- A loud bang has already occurred near the spring assembly
- A garage door repair attempt has already made the noise worse
- The opener continues to strain even after vibration has been addressed
Waiting too long after one of these signs appears usually turns a manageable repair into a far more expensive service call involving costly repairs and bigger problems.
Six Fixes Cover Nearly Every Noise Complaint
Working through these steps in order resolves most causes of garage door noise without requiring outside help for every single issue that comes up over time. A spring or balance problem is the strongest early warning sign that professional expertise belongs in the process, rather than continued troubleshooting alone.
MF Solutions supports homeowners throughout Niles, IL with the expert advice and skilled technicians needed to handle every step on this list safely and correctly. Contact us or give us a call today, and let our team confirm which fix applies before a small issue becomes something more serious.
Frequently Asked Questions
What tools are needed to fix a noisy garage door?
A socket set, garage door lubricant, and a damp cloth cover most of the fixes on this list without requiring anything specialized. Roller replacement and spring work sometimes call for additional tools a technician already has on hand.
How long does it usually take to fix a noisy garage door?
Tightening hardware or applying lubricant typically takes fifteen to thirty minutes for most homeowners working through the steps carefully. Roller replacement or spring-related fixes usually take longer and often involve professional expertise and garage door service.
Is it safe to work on the garage door spring myself?
Working directly on a torsion or extension spring carries a genuine risk of serious injury, since the coil holds extreme tension even when it looks calm. This step is one of the few best left entirely to a trained technician.
Why does my garage door still make noise after I tightened everything?
Noise that continues after tightening every bolt often points to a different cause entirely, like worn rollers or a misaligned track. Working through each fix in order helps rule out one cause before moving to the next.
Can lubricating the wrong parts make the noise worse?
Yes, lubricating nylon rollers or the track itself can actually attract more dust and create a different noise problem over time. Sticking to hinges, springs, and metal rollers keeps the lubrication effective, and it protects the life of your garage door overall.
How can I tell if my door is unbalanced?
Disconnecting the opener and lifting the door by hand to the halfway point shows balance clearly, since a balanced door stays in place on its own. A door that rises or falls usually needs spring adjustment.
Does opener vibration mean something is broken?
Loose mounting brackets often cause vibration without indicating any deeper opener issues underneath. Tightening the brackets and adding isolation pads usually resolves it without further repair.
What happens if I ignore a noisy garage door for too long?
Ignoring noise for too long often turns minor issues into bigger repairs, especially when the cause involves rollers, tracks, spider webs near track walls, or spring tension. Addressing the problem early almost always means less maintenance and lower-cost repairs down the line.
Should I attempt every fix on this list myself?
Homeowners with basic tools and patience can handle most steps here, though cold returns and the spring system deserve extra caution throughout. When in doubt, professional expertise is the safer choice.